Installation and Activation
Installing and activating the iGelGiz plugin on your WordPress website is a straightforward process. Follow these steps to get started:
Prerequisites
A self-hosted WordPress website.
Administrator access to your WordPress dashboard.
The iGelGiz plugin .zip file downloaded from your purchase source.
Installation Steps
Log in to your WordPress Admin Dashboard. Usually, you can access this by navigating to yourdomain.com/wp-admin.
Navigate to Plugins. In the left-hand sidebar, hover over “Plugins” and click on “Add New.”
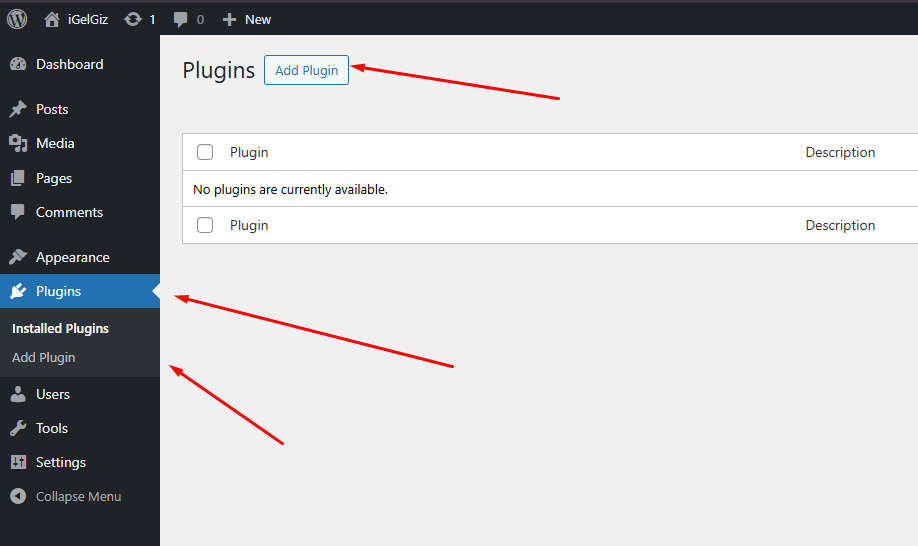
Upload the Plugin. At the top of the “Add Plugins” page, click the “Upload Plugin” button.
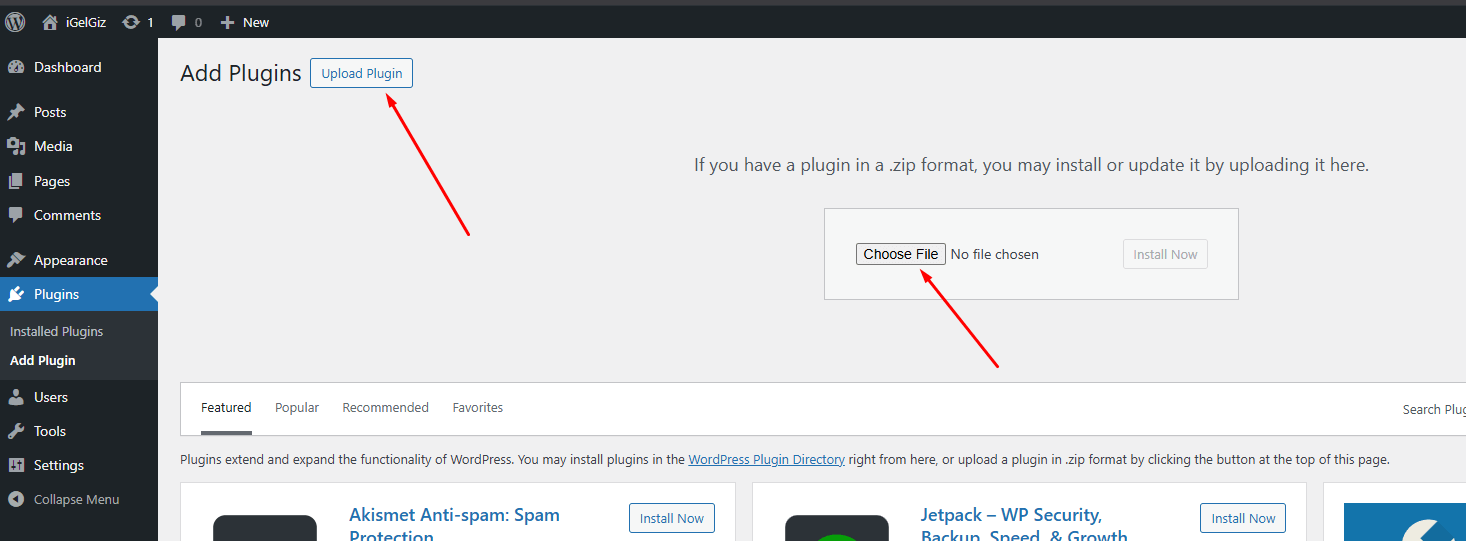
Choose the Plugin File. Click the “Choose File” button and select the igelgiz.zip file you downloaded. Then, click “Install Now.”

Activate the Plugin. Once the plugin is installed, WordPress will show a success message. Click the “Activate Plugin” button.

Post-Activation
After successful activation, you will find a new “iGelGiz” menu item in your WordPress admin sidebar. This is where you will configure all the plugin settings.